More AI – Stable Diffusion

In the last post, we took a look at AI image generator Firefly by Adobe. Now it’s the turn of Stable Diffusion which can be used at clipdrop.co along with a host of other features and, unlike Firefly, is free to try. And in my opinion, it is superior to Firefly.

Judge for yourself. Below is the latest episode of the Twilight Ballrooms Movie Diary which starts with the prompt I gave it and the result it produced. I will add that all of these pics were also enlarged using Adobe Photoshop’s generative fill and I have added a Lumetri filter to make it really atmospheric.


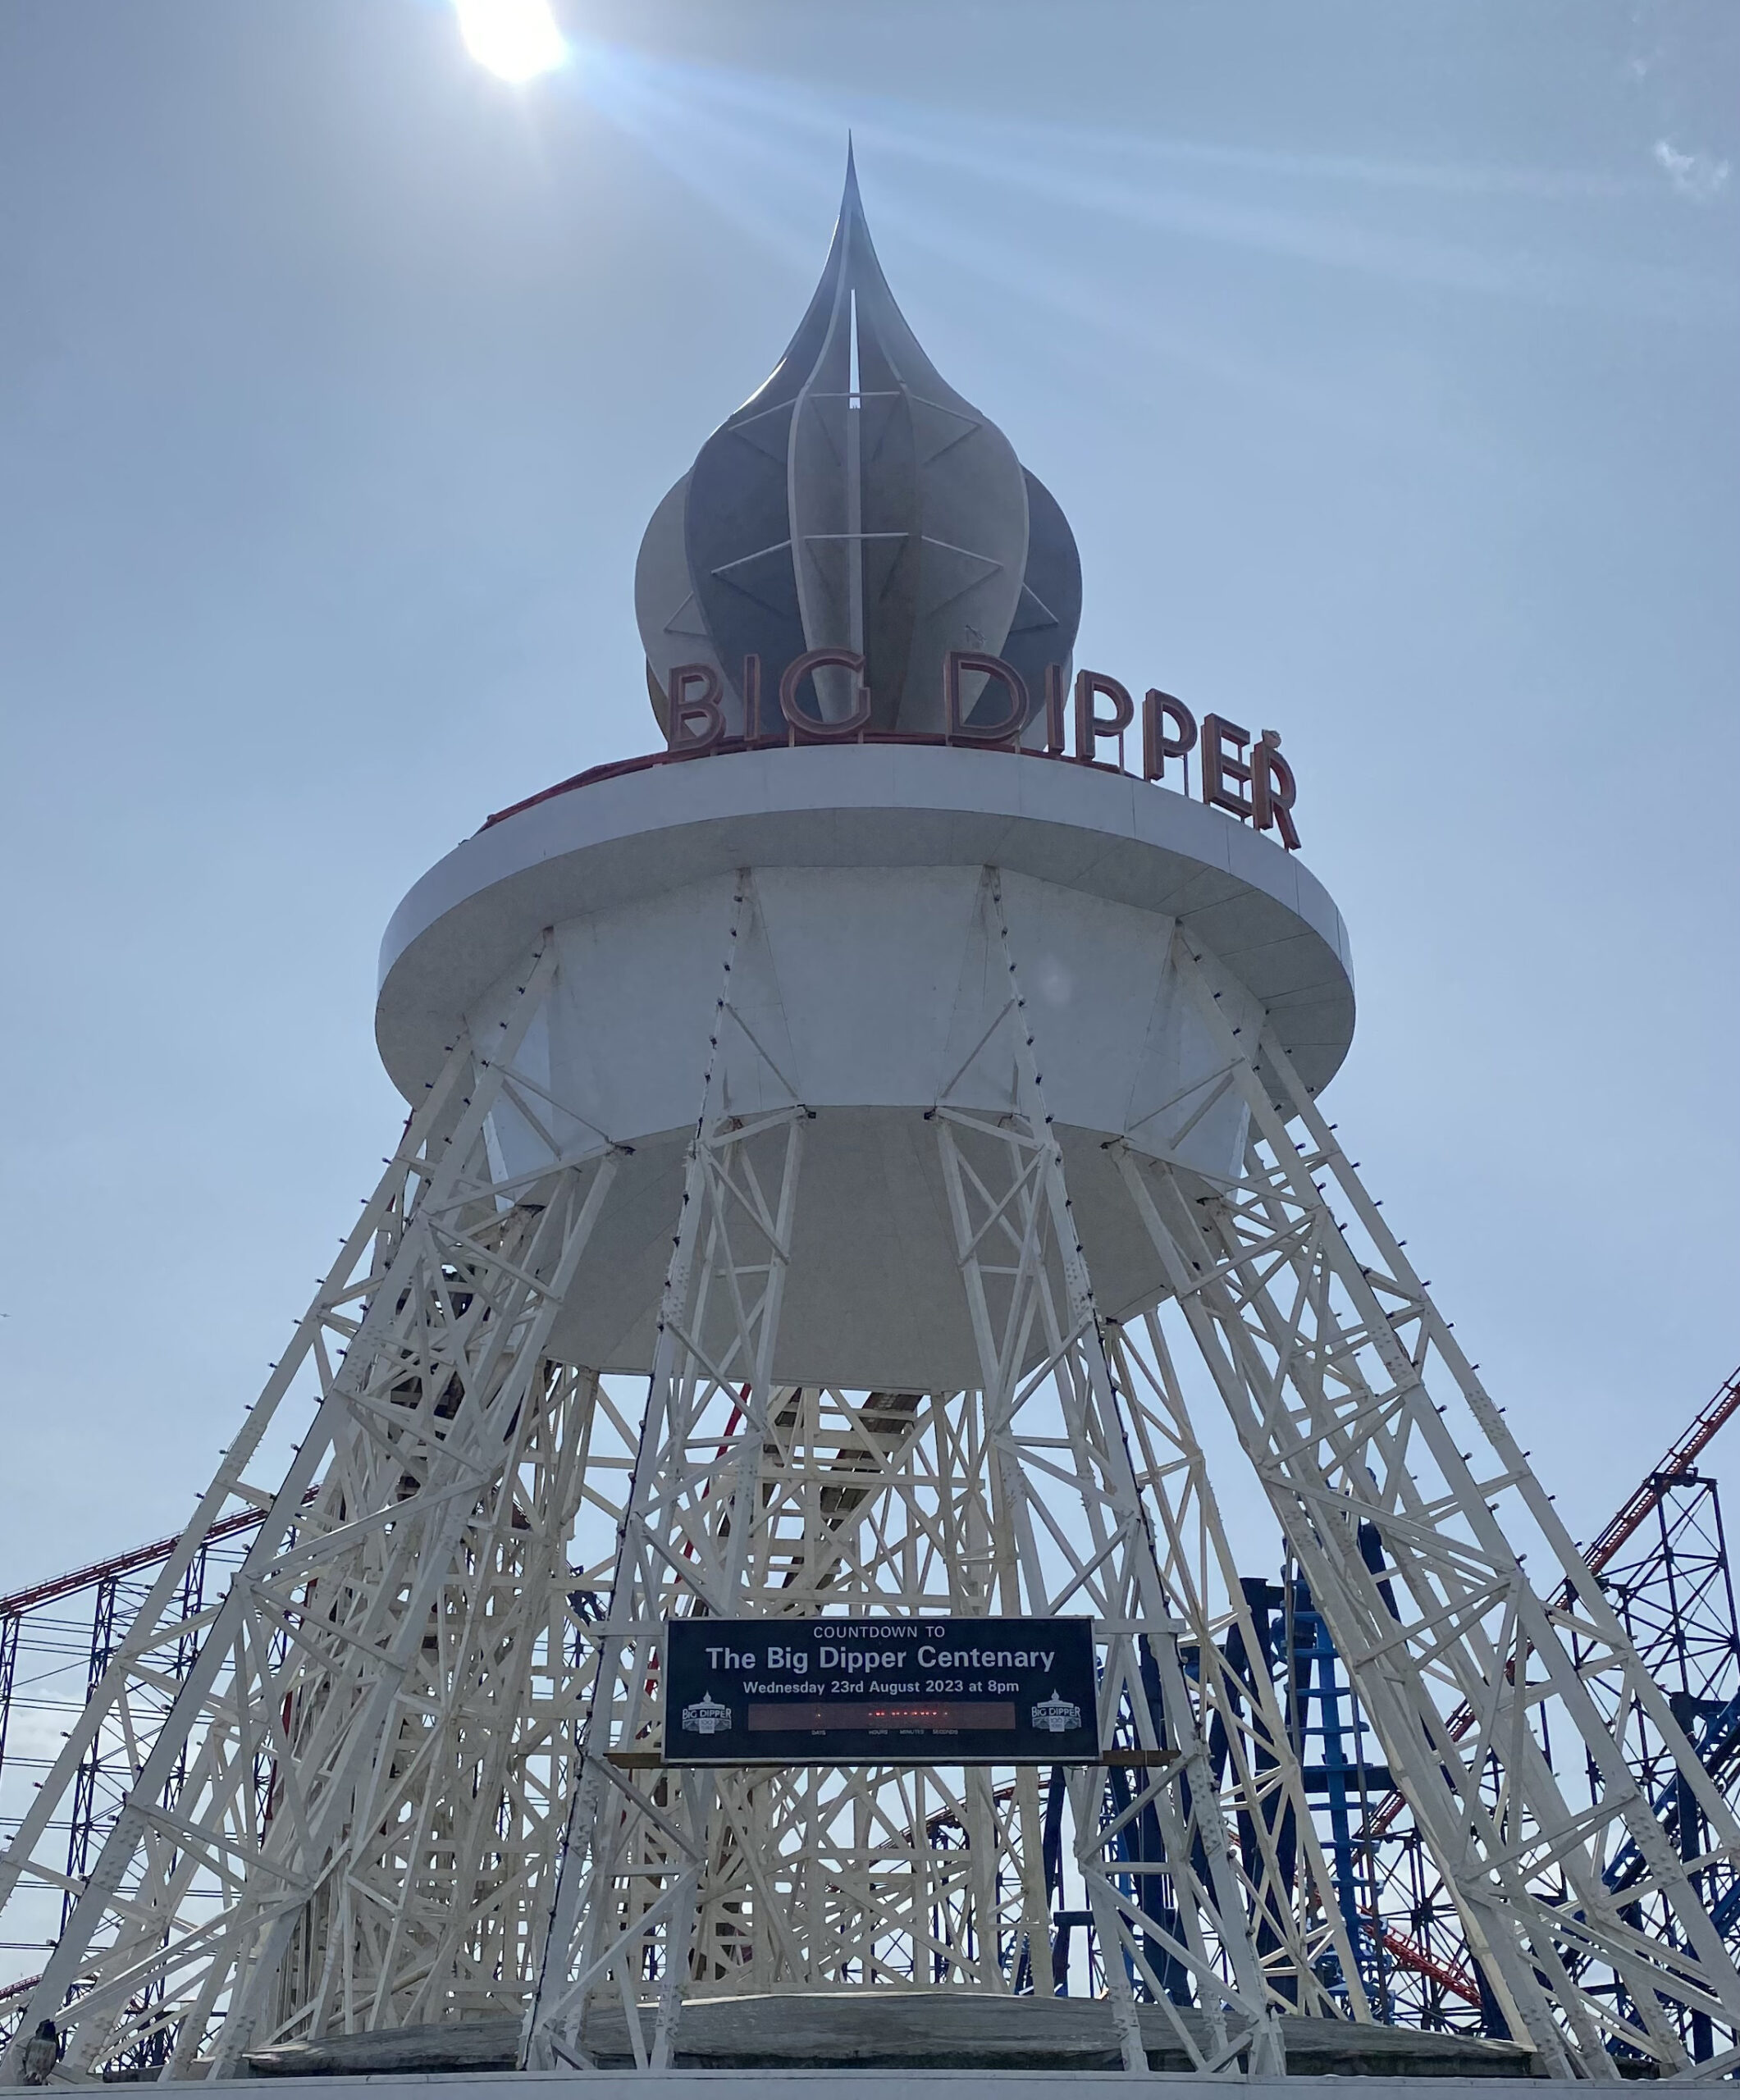
And finally, a Happy 100th Birthday to the Big Dipper rollercoaster at Blackpool’s Pleasure Beach. I took my family there last week and for my kids it was their first time on a rollercoaster. We also went for a cream tea dance at the Tower Ballrooms where we were taught the Charleston accompanied by, you guessed it, the Mighty Wurlitzer! Ah heaven! Thoroughly recommend it!

Wireframe and why!

I’m working on a big sweeping shot from the foyer of the Twilight through to the auditorium. It’s one of my biggest shots so far in one take and brings with it a variety of challenges and workarounds.

The biggest challenge involves the strain I put on my computer. The greater the strain, the longer the rendering, the longer it takes to complete. Good workarounds can not only radically reduce the time it takes, but it can also open up more possibilities and options in your post production workflow.

For example, the video below shows the shot I have in mind. At this stage I’m refining the movement of the camera shot as it pans around. This is easily done with keyframes – you do a start and end position and then tweek the journey in between making adjustments. However, seeing if it works is a challenge as the scene is so object heavy, its hard to get a smooth preview – it just jutters from frame to frame. One really needs to render it to see it at proper speed. Rendering in Wireframe is a much faster option.

I think when it comes to full rendering I shall use lots of object buffers and perhaps do two versions of the render, one of just the lobby and another just the auditorium. Stacking them together on After Effects will allow me to control the two rooms separately in post production – allowing for greater control on the final edit.

STOP PRESS

My recent work on the Twilight’s auditorium now confirms it as a 98 seater!

Wits End Archive

This unique archive footage taken in 1979 shows the dilapidated state of Wits End. The footage was kindly donated to us by the Tour Guide of the closed Twilight Ballrooms.

Of course Wits End is fictitious. And any sharp eyed seaside fan would realise straight away that it’s Blackpool. And naturally it wasn’t filmed in 1979 but over 40 years later. Effects to degenerate it include saturation reduction, augmented green and red channels, white noise, dust and specks (created using fractal noise and random seed at 25p/s). And not to forget the fantastic Video Copilot Twitch plugin (the only plugin that WAS used mind) plus various other tweeks here and there. Weird, I used to dream of having a good HD camera 20 years ago and here I am with great footage degenerating it. Funny ol’ world.

Planet textures

Hope to publish soon a montage of planets I’ve been working on with my son. But I thought I’d share any easy tip today for making your planet look unique. Go to Google maps and, in satellite view, screenshot an area of terrain. The one shown below here was around China!

In the layers panel you can deselect the labels giving you a clean image.

Now the only drawback of using this as a texture is the poles won’t be seamless and you’ll see the join. But the easiest way to solve this is to just not show those sides of your sphere when you do your composite. Then using After Effects, make the image black and white and then using levels tweak the image to something as shown below. This will become your bump map.

This will be a desert planet so no need for glossiness or reflection. And this is the result!

Stay tuned for the montage coming soon. Still have to do the music for it too!

Fadr

There are many ways to isolate vocals from a song. The results vary and can rather depend on your source material. For example if you have an instrumental of the same track you can “invert” that against the original. Mathmatically speaking, it’s the original (with vocals) minus the instrumental (without vocals) equals the vocals. And this effects can be done easily on open source (free) software such as Audacity

If that fills you with dread then don’t be put off – there is a much simpler way. Whilst the result won’t be perfect, this method will certainly allow you a rough separation of vocal and instrument without the need for the instrumental track and as easy as clicking a button. The algorhythms (yes deliberate misspelt pun) on Fadr.com are pretty impressive. Not only can it split vocals from drums, guitar and keyboards into 4 different stems, it also tells you the key of the chord being played and attempts (far from perfect mind) to convert them into midi tracks to help you get started on your DAW (Digital Audio Workstation)

If you’re a budding amateur muso like myself, you will be fascinated to listen to the accompaniment of many tracks without the distraction or noise of the singer. Also perfect for remixes. Free to sign up. Have a play and try not to get addicted.Fadr

I love a good instrumental as one of my Spotify playlists demonstrates.

Moving clouds tutorial

This is the first movie diary entry where I actually share a good tip in post production. And it’s an effect I use a lot in the Twilight Ballrooms movie. Parallax with a 2d photo. Making a static pic of clouds come to life with a good 3d optical illusion. And its simple. CC Slant.

I do mumble a bit when I don’t have a script so I hope this isn’t too dull an entry, but if you’re a PostProd nerd like me I think you’ll love it.

When baking goes wrong

We are currently in Week 8 of the Covid 19 lockdown and on a more optimistic note, I’ve made about three years worth of progress in that time on the edit. But it’s not without it’s trials and tribulations. Here below we see the Box Office I drew a good 7 years ago. I’m now at the point where I need to use the model for some shots and am tidying things up. One of the tools I’ve been using recently to speed up modelling was importing from C4D into Element 3d – the excellent plugin from Video Copilot – which can handle basic 3d models much faster in After Effects than C4d and is excellent for constructing the final composite of the shot you wish to use.

But sometimes it goes awry. And when it does, it can go almost surreally awry as seen below. The top image is how it should look and the bottom is how it looks using C4D’s bake feature.

I’ll take this point to also give a shout out to two very useful free plugins for C4D – SteadyBake was very useful for exporting my 3d Fuse/Mixamo characters from C4D to After Effects. Also worth a mention is DropToFloor plugin which does exactly what it says on the tin – levels selected polygons/models to ground zero so to speak – a big timesaver and essential for avoiding glitches in later import/exports of your model.

Tranquility Wifi

Nothing excites me more than that feeling of realisation that you can do something and it’s much simpler than you think. One such things I discovered last night. Using my phone’s 3G to connect my iPad online. And what’s more it’s wireless. My humble Galaxy Ace has under tether settings, something called Mobile AP, which believe it or not doesn’t stand for Anthony Pearson. Actually it stands for Access Point and it turns your phone into a mini wifi hotspot. I can even connect my walkman to it!

20120515-204527.jpgTo prove it’s use, I am doing this entry at my local pub on my iPad, which only has wifi. The 3G access is from my phone. And here is a picture of my food. I did want to test it somewhere more remote like the top of Primrose Hill but it has been chucking it down all day.

This post was also done using the official WordPress app which I also have on my Android phone. I know what you’re thinking….why not just do the post from my phone. But all this typing would have much more fiddley. The app is great for posts and pages, but not so good for anything else like media management, CSS and plugins etc…

2011 – More than a dream!

I have been working hard, honest. The thing about pre-production and/or learning anything new is that at the end of the day, you don’t really have anything to show for it. Well, I thought I’d change that and have edited a quick montage of all tester clips and stuff generally marked on my hard-drives as “CANDELETE” – that’s all files that I create just to experiment and test an effect or process that I’ve just learnt. Other than that, the clip is usually redundant. After all, when am I going to need a tube train on the New York subway, unless they script a film called “The Taking of Balham 123”)
That is until now, where, before the files ARE deleted or permanently archived in that warehouse where the Arc of the Covenant also lives, they can have pride of place in this montage. Enjoy.

Panarup!

So the last few weeks have been a mixture of different Twilight related projects. Lots of 3d drawing, notably the top of the Twilight tower which has now been added to the Ballrooms. I have also been designing numerous posters from the Twilight’s history. I did something similar to decorate the set when we took the Twilight’s live show to Edinburgh in ’06.  However, these new ones are far more superior, even if I do blow my own trumpet. The new posters not only appear in the film but are also needed for the new live show this August 2011. Indeed much of the current pre-production is dictated by Richard Leigh’s deadlines for set building for this show. It’s been great fun thinking up old variety act names (“The Wimple Sisters – There’s Nun like’em”). It’s also started making the Twilight come alive.
Today, to try something completely different, I’ve been working on manipulating 2d images to make a 3d aerial pan. Here is the result of my experiment. (Very rough, you can even see the edges of each photo, but you get the general idea)

Great tip – if you use the advanced search bar in Flickr you can choose pics that have a Creative Commons License, some even for commercial use! (IF IN DOUBT – ALWAYS ASK THE OWNER). Some of the pics in these shots were CCL but I hope to use original shots once I get my new DSLR. More of that anon!