3d Graphics
Meanwhile, in the background…
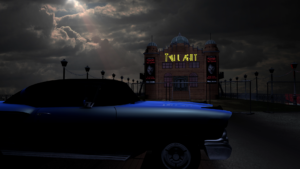
Detail is key to making something believable. Here you can see one of the many background buildings in Wits End. A closed down fish bar called The Golden Chip. And there’s a little story to this.
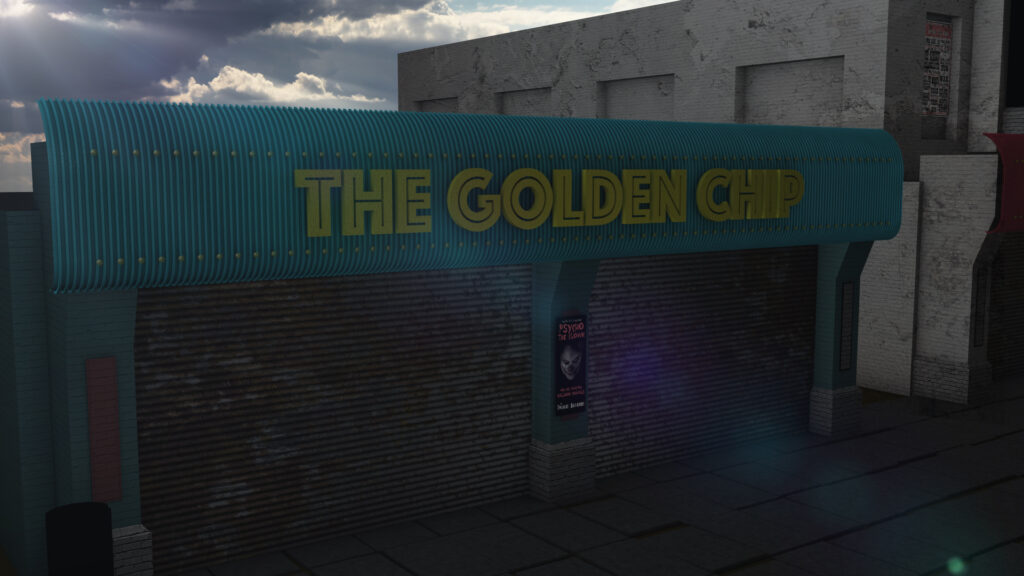
My family used to own a holiday chalet in Scratby (the original name for Wits End) in Norfolk. But my visits there were often with father, off season, so he could carry out repairs and decorate the chalet. I would often be left to my own devices and (this was roughly 1980 when this film is set) I’d wander off on my own and explore. Hence my love for closed down, off season seaside resorts. The weather was often hostile, the holiday facilities were often run down, shops were closed, many boarded up for the winter. I guess it was my own UK version of the Overlook Hotel. It was creepy, empty but at the same time exhilarating.
But unlike the Shining, my father didn’t turn into a psychotic axe murderer. My father was a quiet gentle man with a great, often dry, sense of humour. And at the end of the day, he would treat us to fish and chips which would be the highlight of my day. We’d buy them in Ormesby St Margaret which was a 10 minute car ride away. Despite it being called Ormesby Fish and Chips, my father would always refer to it as The Golden Chip.
Great memories. Miss ya dad xx
Wireframe and why!
I’m working on a big sweeping shot from the foyer of the Twilight through to the auditorium. It’s one of my biggest shots so far in one take and brings with it a variety of challenges and workarounds.
The biggest challenge involves the strain I put on my computer. The greater the strain, the longer the rendering, the longer it takes to complete. Good workarounds can not only radically reduce the time it takes, but it can also open up more possibilities and options in your post production workflow.
For example, the video below shows the shot I have in mind. At this stage I’m refining the movement of the camera shot as it pans around. This is easily done with keyframes – you do a start and end position and then tweek the journey in between making adjustments. However, seeing if it works is a challenge as the scene is so object heavy, its hard to get a smooth preview – it just jutters from frame to frame. One really needs to render it to see it at proper speed. Rendering in Wireframe is a much faster option.
I think when it comes to full rendering I shall use lots of object buffers and perhaps do two versions of the render, one of just the lobby and another just the auditorium. Stacking them together on After Effects will allow me to control the two rooms separately in post production – allowing for greater control on the final edit.
STOP PRESS
My recent work on the Twilight’s auditorium now confirms it as a 98 seater!
Liminal Space
My latest enjoyment is “liminal space” defined as “the physical spaces between one destination and the next.”
Since 2019 /liminalspaces has been a popular thread on Reddit
This is a clip of an animation I’ve been working on, based on a “creepypasta” called The Backrooms.
In my version there is a little twist at the end.
The Twilight Backrooms from Tranquility Base Presents on Vimeo.
Psycho The Clown is official
As you know, the Twilight Ballrooms film has been a labour of love for me for the last 10 years and will continue to be so for many years to come as I’m only half way through. The reason it takes so long is because I am doing everything from writing, acting, directing, scoring, grading, compositing, 3d art, editing etc… this list goes on.
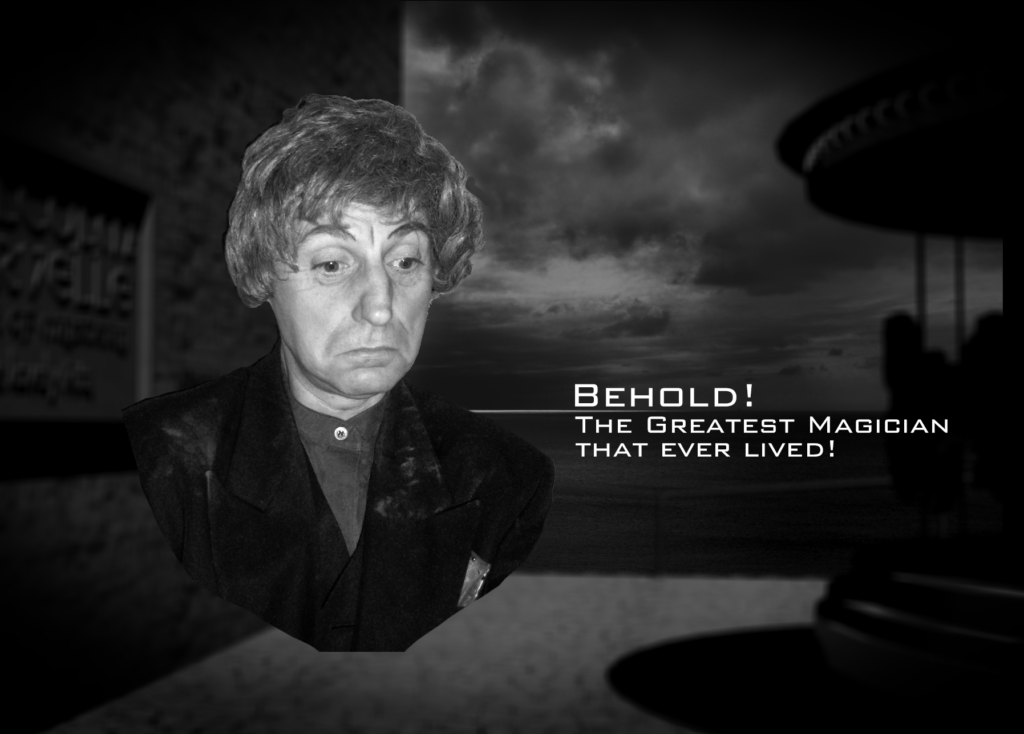
However there are one or two bits in the project which are not me. Buster Cristo’s car comes from a royalty free 3d object online repository. The sweet wrappers used in Mrs Kepelwicks shop (which I don’t think are in view anyway) came from a lovely fella called Jason Liebig (who collects sweet wrapper images on Flickr) and who gave me permission to use them. And this week I got kind permission from JP Pirie. Users of Snapchat may well have used his masks on their snapchat pics. It was one of his masks, Clown O Freaky, that I used (along with my face of course) to create the posters of Psycho The Clown. Not only did he give me his permission but even had a quick butchers at the website and was really encouraging with his comments. So, many many thanks JP Pirie!
The Planets
Planet textures
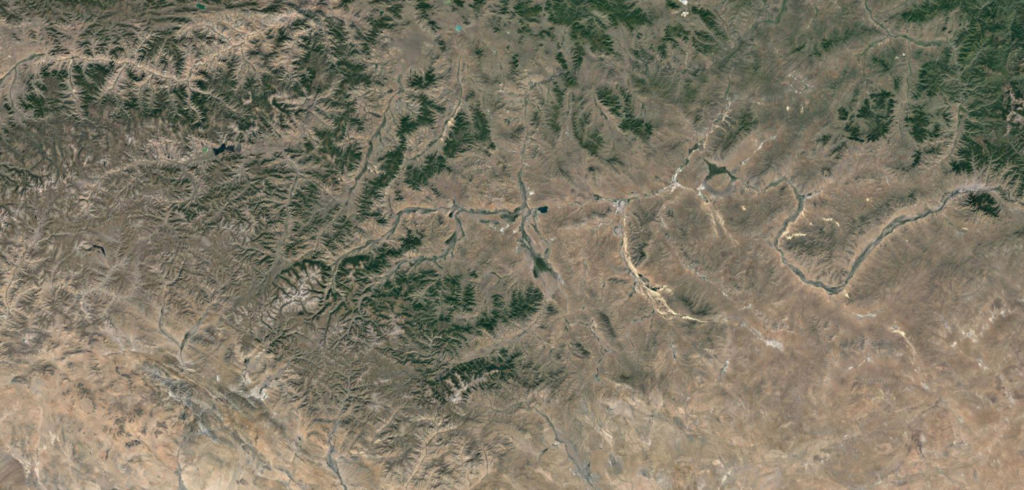
Hope to publish soon a montage of planets I’ve been working on with my son. But I thought I’d share any easy tip today for making your planet look unique. Go to Google maps and, in satellite view, screenshot an area of terrain. The one shown below here was around China!
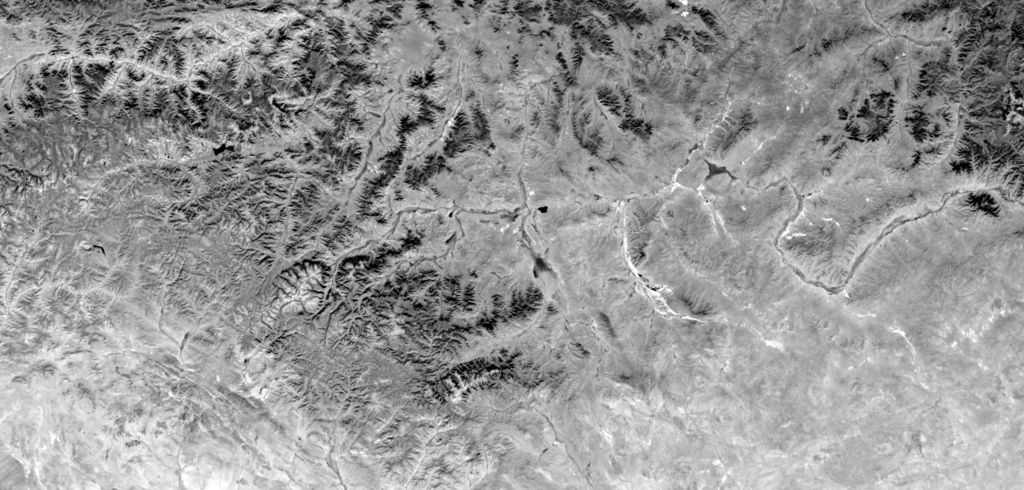
Now the only drawback of using this as a texture is the poles won’t be seamless and you’ll see the join. But the easiest way to solve this is to just not show those sides of your sphere when you do your composite. Then using After Effects, make the image black and white and then using levels tweak the image to something as shown below. This will become your bump map.
This will be a desert planet so no need for glossiness or reflection. And this is the result!
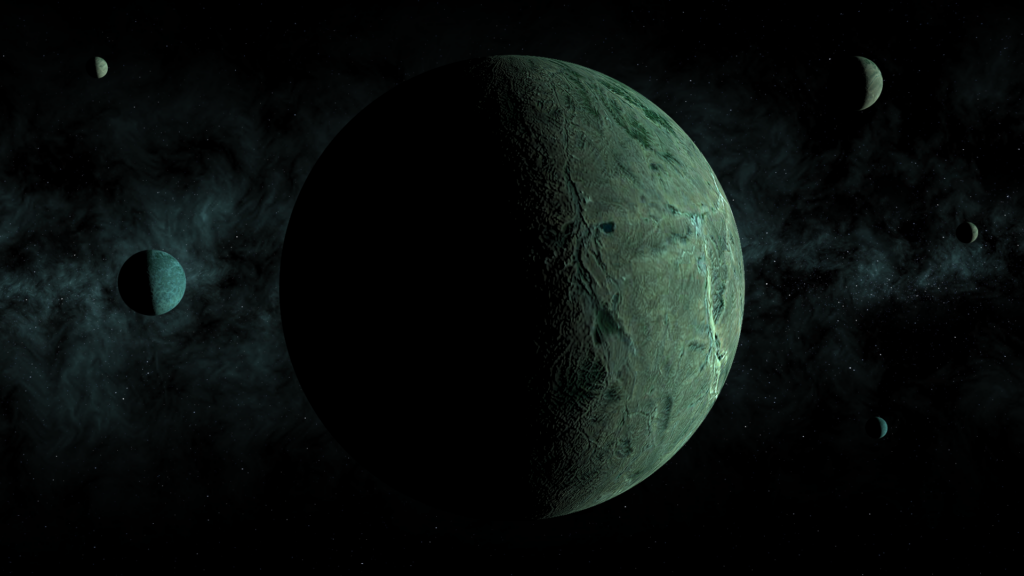
Stay tuned for the montage coming soon. Still have to do the music for it too!
Synthwave Art
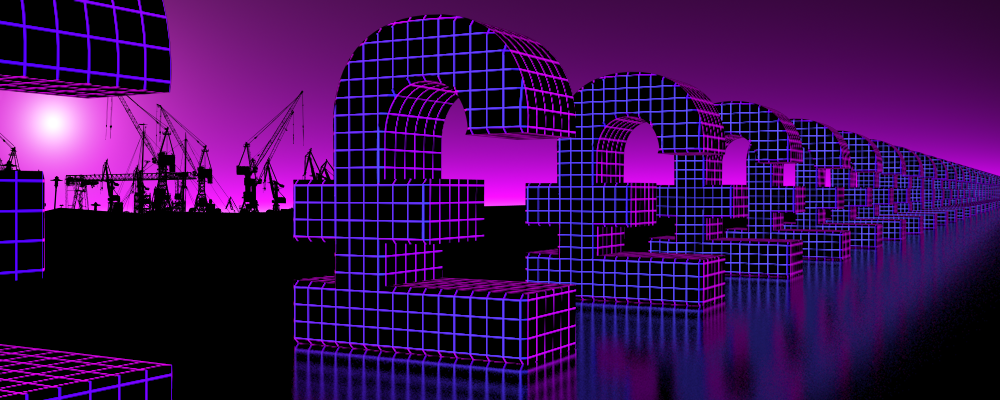
Wikipedia says “Synthwave (also called outrun, retrowave, or futuresynth) is an electronic music microgenre that is based predominately on the music associated with action, science-fiction, and horror film soundtracks of the 1980s. Other influences are drawn from that decade’s art and video games.”
So, think Tron meets Bladerunner. The colours are usually neon lit or based on old computer graphics. There is quite a nostalgic sometimes melancholic quality about these graphics. Themes usually promise adventure and reward in a brave new electronic world whilst using quite basic shapes and perspectives. The accompanying music is almost always synthesiser with artists like Vangelis, Tangerine Dream and Jean Michelle Jarre. Indeed I listened to the entire Equinoxe album by JMJ recently (listen to Part 5). For electronic escapism it simply can’t be beat.
I hope to try and compose some original tracks in the future of this style. But in the meantime I’ve used a two minute excerpt from an apt song by Pet Shop Boys called “This Used To Be The Future” – a great song featuring Human League’s Phil Oakey and vocals from BOTH Pet Shop Boys. The song was never released as a single so I’ve created an unofficial video using a montage of some of my Synthwave Art clips. Enjoy.
Movie Diary ep8
When baking goes wrong
We are currently in Week 8 of the Covid 19 lockdown and on a more optimistic note, I’ve made about three years worth of progress in that time on the edit. But it’s not without it’s trials and tribulations. Here below we see the Box Office I drew a good 7 years ago. I’m now at the point where I need to use the model for some shots and am tidying things up. One of the tools I’ve been using recently to speed up modelling was importing from C4D into Element 3d – the excellent plugin from Video Copilot – which can handle basic 3d models much faster in After Effects than C4d and is excellent for constructing the final composite of the shot you wish to use.
But sometimes it goes awry. And when it does, it can go almost surreally awry as seen below. The top image is how it should look and the bottom is how it looks using C4D’s bake feature.


I’ll take this point to also give a shout out to two very useful free plugins for C4D – SteadyBake was very useful for exporting my 3d Fuse/Mixamo characters from C4D to After Effects. Also worth a mention is DropToFloor plugin which does exactly what it says on the tin – levels selected polygons/models to ground zero so to speak – a big timesaver and essential for avoiding glitches in later import/exports of your model.
Doris Kepelwick
Virtual studio
With both kids at school I’ve recently got my mornings back, which has meant that I’ve been able to have some time for myself and indeed the project. And when they went away for a week during the Summer holidays, I was also able to get some filming done. Currently I spend my precious free time working on the pub scenes in the film.
Working with a virtual set has many benefits. It’s cheaper which given my zero budget is always good. And the pressure to shoot on location and get everything right first time is also eliminated. A virtual set allows you to take your time to experiment and play around when it comes to camera positions and angles.
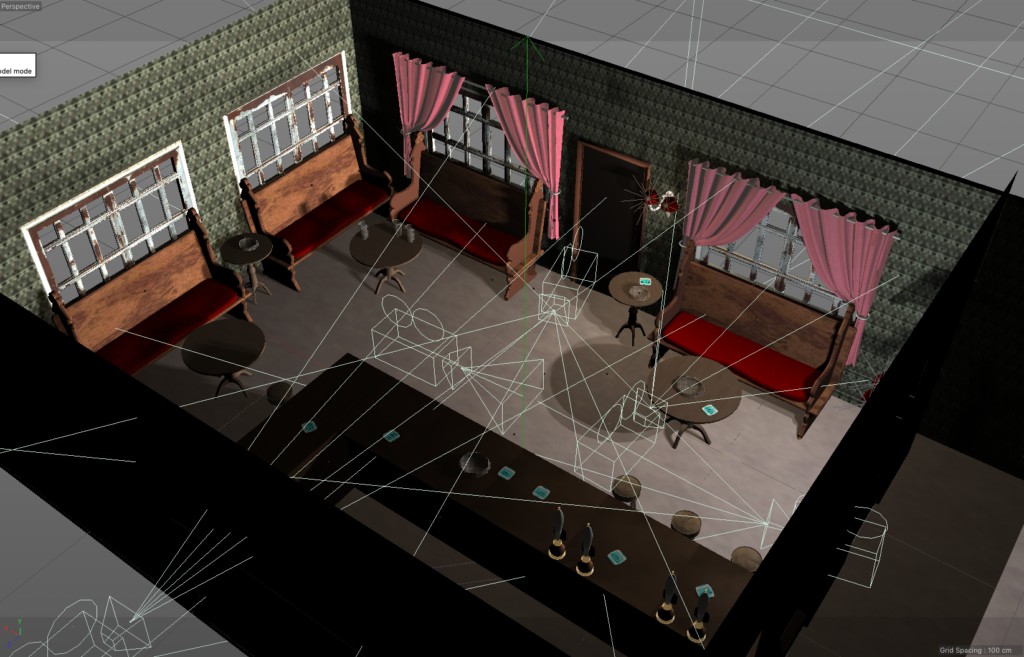
You can take your time getting the lighting right, take down walls if your camera angle requires it, take multiple retakes if necessary, takes care of props and continuity and so on. And, as I discovered, you can rebuild the set as can be seen here with the entrance door reset between the two pews opposite the bar.
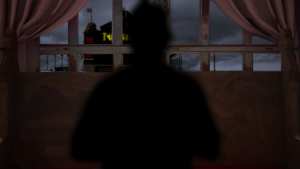
Orientation has changed too. The Twilight was originally positioned outside the left windows but this too has been rejigged and now appears over Mundesley’s shoulder at the right windows, making it more haunting and menacing for him as they appear over his shoulder (he is sat on the pew on the far right by the toilets) I think I will also add a porch with side entrance to cover the entrance door in the pub.
For the edit I have files dynamically linked between After Effects and Premiere Pro. I am still developing a good workflow for both with much scope for improvement, but more of that in a future post.
The Tripods
The Tripods is a cult BBC sci-fi classic from the mid-80’s, a Satuday teatime tv trilogy which sadly got the boot after series 2. I, like many, was gutted and years later I’m still not quite over it. In fact only the cancellation of Channel 4’s Utopia has equalled the feeling. So as a kind of therapy I’ve recreated the opening titles using the brilliant original theme music by Ken Freeman
Stranger 80’s
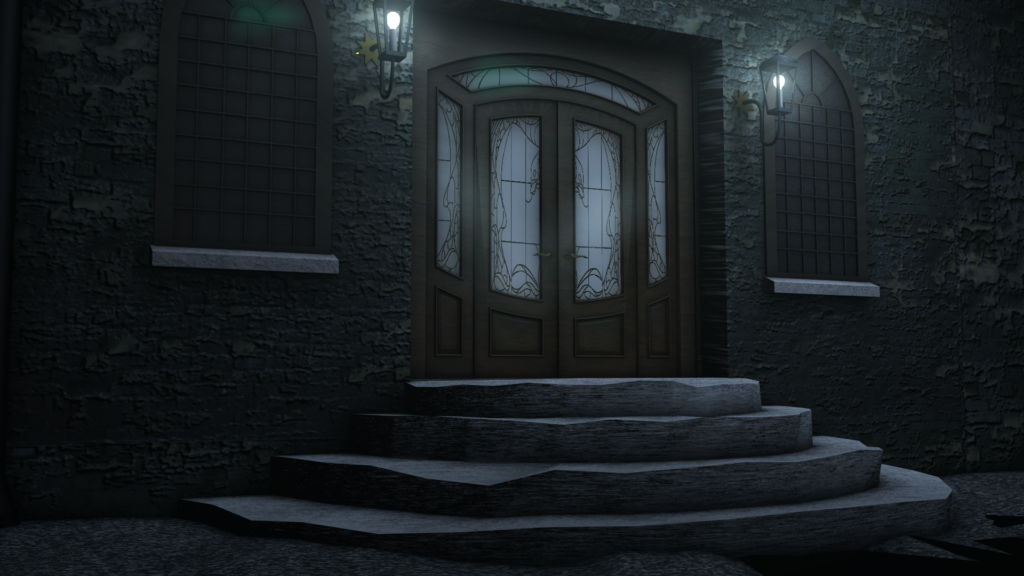
Old door to Ballrooms
I found the old front door of the old Twilight model today. Question is, should I incorporate it into the New Twilight on the pier or is it not in keeping and too ornate.
I’m stumped cos I quite like it. The original was not my drawing btw but from a royalty free library and then tweaked by me and placed in situ with the rest of the Ballrooms.
The clumpy stairs are definitely me though 🙂
More exterior shots
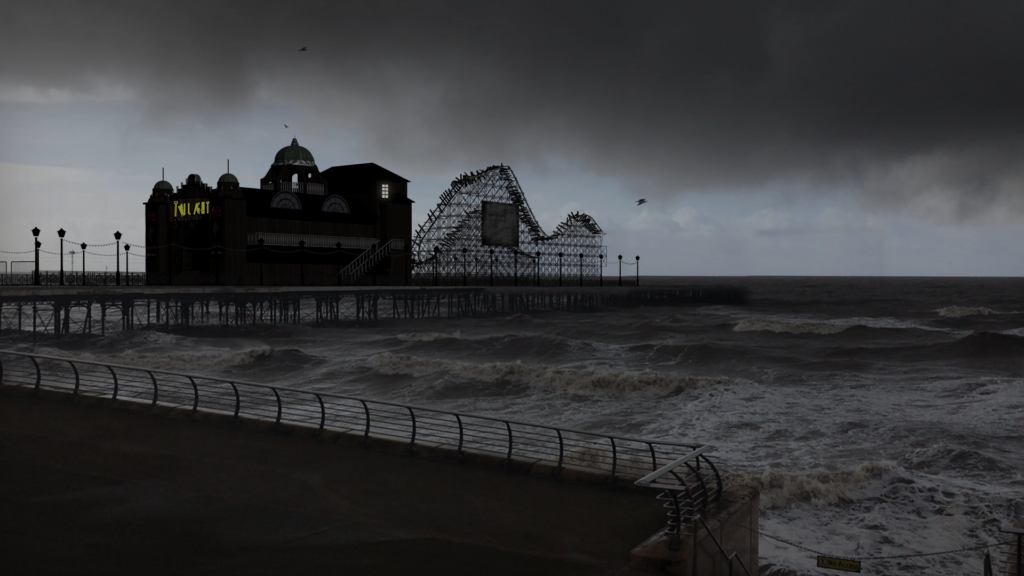
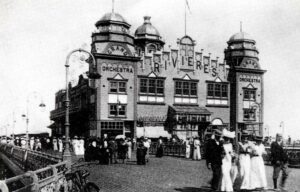
The history and evolution of the Twilight Ballrooms concept. From a house shaped theatre perched on top of a crumbling cliff to its final incarnation, a crumbling variety hall on a pier in Wits End.
This video will show the real life venue that inspired it – a venue that sadly burnt down almost 100 years ago!
POSTSCRIPT: This week, the end of Colwyn Bay pier collapsed into the sea. Eerily similar to the story. Full story here
Its hour will come…
Four Men in a Pub – Twilight Movie Diary
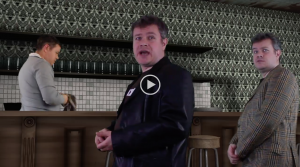
Since becoming a dad, the Twilight Ballrooms project has ground to a halt. That’s parenthood, there’s just no time to engage in the work required. So to sate your appetite and in a rare entry for the Twilight Ballrooms’ Movie Diary these days, I’ve decided to release this rough clip of an experiment I did a while back with a genuine scene from the film. The acting is rough, the cuts are crude but it was fun to explore the green screen environment (the set is CGI by me). It also explored the feasibility of playing all the parts myself – if I can brush up on the accents that is! (which, if you hadn’t noticed are English, Irish and Scottish for the pub regulars and American for Buster Cristo) This would certainly help save money as I can’t afford to pay anyone being a zero budget project, nor do I wish to exploit anyone’s talent for zero pay.
Also on a practical note, it would be easier for reshots and dubs! When I did A Life Of Brian (my first half hour project) my friends all worked for free. It was their 30th birthday present to me. However I only had them for a few days and in the proceeding months, during the edit, I was frustrated when I found I needed a link line recording or a clip redoing. I remember having to edit a conversation together from two recordings I’d recorded in different places and revisiting the location with my partner to shoot more clips. All of course without the actors. So this project, given its virtual environment, I’m rapidly coming to the conclusion that life would be easier and more flexible if I just play all the parts myself. Well, not ALL the parts, but more on that anon!
Doctor Who time tunnel
This is my first attempt at a Doctor Who time tunnel with thanks to Crawlerz and their excellent tutorial. (The music is from the actual TV programme to help it along!)
Solar Flares
The sound is from a YouTube video of an actual NASA recording of the sounds of Jupiter
Time Flies!
Anyone who doesn’t know, my flat is undergoing extensive repairs since a flood last November… and yes, it’s STILL going on. So I’ve been quite preoccupied with that on what feels like a full-time basis. I’ve also been doing lots of web-design favours for friends. So what I’m saying is basically it’s been a while since I last blogged. But before you get the violin out…no don’t… there have been some exciting stuff going on too. Like I’ve purchased a Zoom H4N for sound recording…more experiments from that anon…stay tuned viewers. Also a NAS drive, more or less my very own 3TB cloud, though it’s video streaming leaves a lot to be desired thanks to Seagates badly designed app. However, I’m not disheartened as knowing the geek community it won’t be long before someone releases a better one than Seagates miserable effort.
Anyhoo, here’s a video clip. Pretty basic….
…except that that was originally just a photo!
The flies are created using the png on the left with a particle system, whilst the clouds are used moving masking and a simple skew. Skew is better than simply moving the cloud layer as it allows the clouds at the top (and therefore nearer) to move quicker than the clouds at the bottom (the ones further away nearer the horizon) A simple technique yet very effective. Considered adding a lens flare but thought it might be overkill. Sometimes simple is best.
Vanishing Point
Experimented today with something called “Vanishing Point”. There is much you can do with this Photoshop filter which helps you edit a 2d photo in a 3d environment. One of the cool things is when you export it to After Effects. (Check out this tutorial from Andrew Kramer) By moving the virtual camera in the import you get this. If edited right it can look like a perfect faked dolly/crane shot. This one is just rough, but remember, the original is just a flat 2D photo. Can’t wait to try some more test out.
The Devil’s in the detail
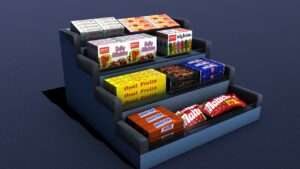
Have completed this 3d model as part of the local village store. The sweet wrapper images were a real bonus and are courtesy of Jason Liebig from Flickr! Many thanks Jason.
The actual model may well end up as a blur in the background, but that would still be the case if I were dressing a real set. At least this way I don’t have to Flambar everything!
Panarup!
So the last few weeks have been a mixture of different Twilight related projects. Lots of 3d drawing, notably the top of the Twilight tower which has now been added to the Ballrooms. I have also been designing numerous posters from the Twilight’s history. I did something similar to decorate the set when we took the Twilight’s live show to Edinburgh in ’06. However, these new ones are far more superior, even if I do blow my own trumpet. The new posters not only appear in the film but are also needed for the new live show this August 2011. Indeed much of the current pre-production is dictated by Richard Leigh’s deadlines for set building for this show. It’s been great fun thinking up old variety act names (“The Wimple Sisters – There’s Nun like’em”). It’s also started making the Twilight come alive.
Today, to try something completely different, I’ve been working on manipulating 2d images to make a 3d aerial pan. Here is the result of my experiment. (Very rough, you can even see the edges of each photo, but you get the general idea)
Great tip – if you use the advanced search bar in Flickr you can choose pics that have a Creative Commons License, some even for commercial use! (IF IN DOUBT – ALWAYS ASK THE OWNER). Some of the pics in these shots were CCL but I hope to use original shots once I get my new DSLR. More of that anon!
Greyscale Gorilla & C4 Cafe
A blog worthy of mention, Greyscale Gorilla This one covers all my favourite subjects on Post Production, namely After Effects, Cinema 4d, Photoshop and others. Some great video tutorials (video tutorials are always the best) and a competition called the 5 Second Project which is very entertaining, check out the superb entries, inspiring stuff. All this done by a fella called Nick Campbell (he is the gorilla) from Chicago, USA. Nice one Nick!
As I explore the demo of Cinema 4d even more, I have subscribed to c4dcafe.com – who have some excellent tutorials too. However it took me 3 attempts to get my subscription accepted, (you can’t view anything until you have subscribed which is annoying) and once you’ve completed their rather interrogative questionnaire, they hint heavily for donations. I hope some day they take a leaf out of other sites more accessible walk-in setups and deal with their funding issues by advertising or selling their own products, such as my favourite site Video Copilot or indeed Greyscale Gorilla! Another brownie point for them!
Blowin in the Wind
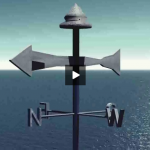
Had a little learn and play with the Daylight System in 3ds-Max today. Made a little weathervane from scratch to render in it that I imagine would probably sit well aloft the Twilight Ballrooms main tower. Maybe we’ll see this shot again someday in such a context, though hopefully less plain looking (Come on, I quit Art when I was 12 years old. That’s what happens when your homework is pointlessly sticking bits of dry pasta to cardboard!)
And I’m excited about seeing Gareth Edwards movie Monsters soon. Saw an interview with him on the Culture Show the other day. The guy is doing exactly what I want to be doing (if only I had the money). He’s living the dream! And I want his big flat screen TV too. From what I’ve seen he’s really committed to the immense amount of work that is involved whilst coming up with some very imaginative stuff – though I’m pretty sure it’ll look low budget compared to my attempt here at a weathervane. Now they ARE scary!
Red Giant Software

Not only a great selection of post-production software and add-ons, the website also has a great selection of videos and tutorials on how to get the best out of these products. From Grading software with fabulous presets, to lens flares, text effects (including the ubiquitous Matrix generator), vintage effects, state of the art video noise reduction, ray effects, keying software, oh to name just a few!
But Red Giant’s “Pièce de Résistance” is its Trapcode Collection of particle generators, most notably “Particular”. This effect comes in many forms and categories and Red Giant have been wise to subdivide its possibilities into various different versions of software. Also worthy of mention, and one of my personal favourites, was “Psunami” which is a sea generator like no other. Incredibly realistic, you can also have huge control over its environment including camera angles giving you the power to make some amazing effects which would only otherwise be possible shooting from a helicopter. In can take a while to render but its still significantly faster than doing it on 3d modelling software, and the wire mesh preview gives almost realtime rendering which is ideal.
So check out the website, the software, Red Giant TV and give their demos a try. It’s not so much whether you’ll buy something because you will, but more that you find the perfect solution from its vast array of offerings.
The Ballrooms
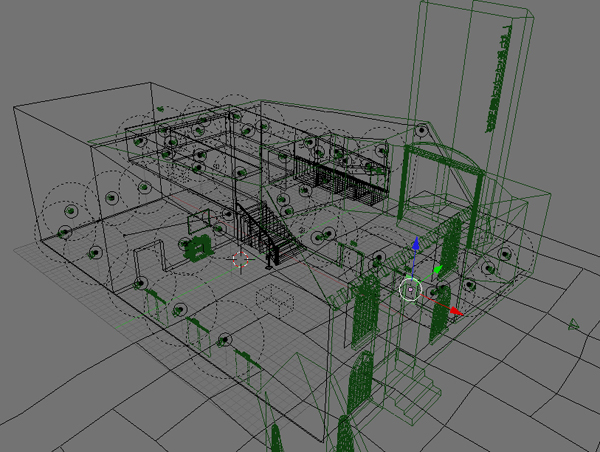
In working on the new Twilight website, the topography of the Twilight had to be devised. Here is an early blueprint of the front structure of the building.
Stop press…
Richard Leigh has persuaded “Malcolm Marvelle – Master of Mystery and the lovely Rita” to return to Jermyn Street Theatre this November 2010. Ticket information will soon be available on their website.
It’s a show not to be missed. But don’t just take my word for it. Click the video here to get a brief glimpse of what others have thought of past shows in the “Twilight Ballrooms Guestbook”
Creative Cow
What this site hasn’t got for the serious movie maker isn’t worth knowing. It certainly has a comprehensive collection of external tutorials covering a wide array of categories, including many Adobe products, specific camera equipment and the main 3d modelling programs. And when you’re on a tea break have an explore of the rest of the site too. The showreels people have submitted are awesome and inspiring, there’s a jobs board, excellent resource and links to some other fab sites.
Visit www.creativecow.net
Free CG software – Blender
Have you ever wanted to create your own CGI graphics but thought it out of your price range and ability? Think again. Ever heard of Blender? What?! It’s been round for years, c’mon! Check out the website. Basically, its open source software which means its free to download and use. And like most open source software (OSS) many people use it. Which means theres quite an established community online who forum and discuss its problems and potential. So if you get stuck on something, chances are there are many before you who have had similar problems too. And those people have often found the solution you require and have posted it on a forum. Good huh! And there are numerous free tutorials, repositories, libraries, textures, links etc…Download it now at www.blender.org
For good YouTube tutorials on Blender basics, I would recommend Super3Boy’s tutorials. Okay, he does sound like a young teenager and throughout his 30 odd tutorials his voice breaks, but the guy is good and tells you what you need to know with some fun, easy to follow examples to get you going.

